In the era of social media and content creation, smartphone gimbals have become essential tools for achieving stable and professional-looking videos. If you own an iPhone and want to elevate your videography game, using an iPhone gimbal can make a significant difference. In this comprehensive guide, we will walk you through the steps on how to use an iPhone gimbal effectively, unlocking the full potential of your smartphone camera.
Step 1: Choosing the Right iPhone Gimbal
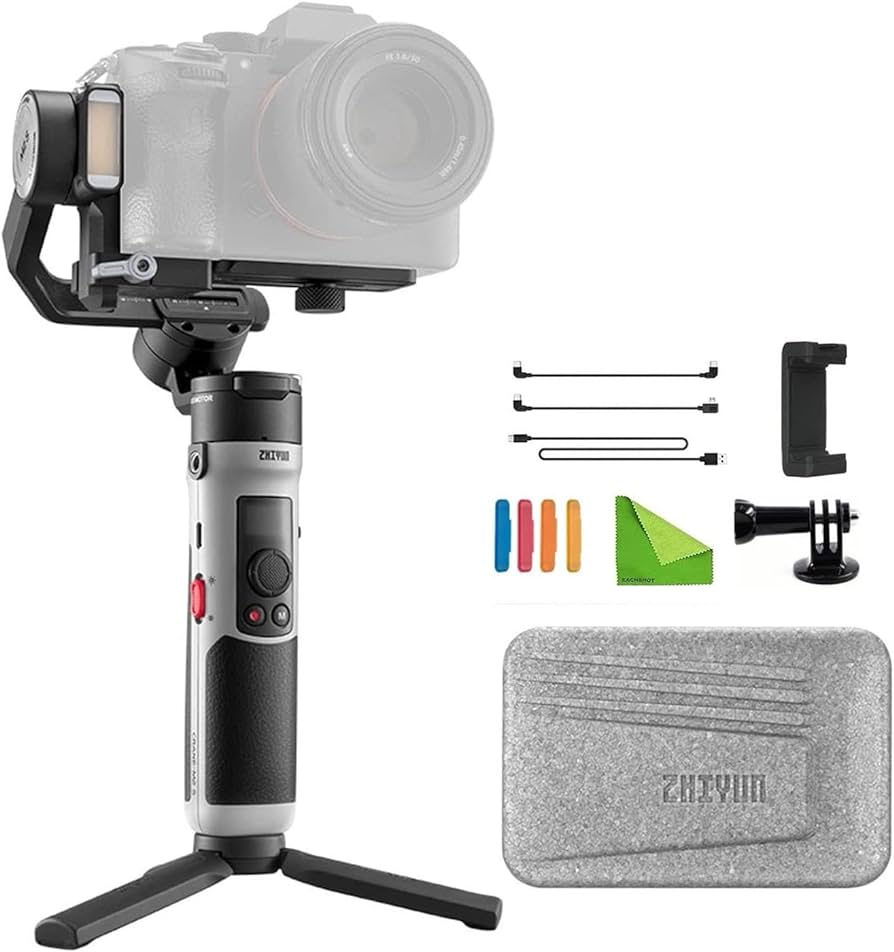
Before diving into the technicalities of using an iPhone gimbal, it is crucial to select the right one for your needs. Consider factors such as payload capacity, battery life, stabilization capabilities, and compatibility with your iPhone model. Popular choices include the DJI Osmo Mobile series, Zhiyun Smooth series, and Moza Mini-S series, all of which are designed to deliver superior performance when paired with an iPhone.
Step 2: Balancing Your iPhone
Once you have chosen the perfect iPhone gimbal, the next step is to balance your iPhone on the gimbal. Most gimbals have adjustable mounts to accommodate different phone sizes. Follow the manufacturer’s instructions to ensure that your iPhone is securely and evenly mounted on the gimbal, allowing for optimal stability during shooting.
Step 3: Powering Up the Gimbal and Connecting to Your iPhone
After successfully mounting your iPhone on the gimbal, it’s time to power up the gimbal. Depending on the model, you may need to charge the gimbal beforehand. Once powered up, connect your iPhone to the gimbal either via Bluetooth or using the dedicated smartphone app provided by the gimbal manufacturer. This allows for seamless communication and control between the gimbal and your iPhone.
Step 4: Understanding Gimbal Modes
iPhone gimbals come with various shooting modes to cater to different filming scenarios. These modes typically include pan follow mode, lock mode, follow mode, and POV mode. Familiarize yourself with these modes and understand their specific functions to maximize the potential of your iPhone gimbal. Most gimbal apps provide detailed explanations of these modes and how to switch between them effortlessly.
Step 5: Mastering Smooth Movements
One of the key advantages of using an iPhone gimbal is the ability to capture buttery smooth and stable footage. Practice different movements such as panning, tilting, and tracking while keeping your iPhone gimbal steady. Slow and deliberate movements often yield the best results, so take your time to master the art of fluid and controlled camera motions.
Step 6: Fine-Tuning Settings and Parameters
Each iPhone gimbal offers a range of settings and parameters that can be customized to suit your specific preferences. These may include motor strength, joystick sensitivity, and follow speed. Experiment with these settings to find the perfect configuration that complements your filming style and ensures optimal performance from your iPhone gimbal.
Step 7: Leveraging Advanced Features
Explore the advanced features of your iPhone gimbal, such as time-lapse, motion tracking, and object recognition. These features can add a creative touch to your videos and expand your storytelling capabilities. Take the time to understand how to utilize these features effectively to enhance the visual appeal of your iPhone-shot footage.

Credit: www.amazon.com
Step 8: Maintaining Your iPhone Gimbal
Proper maintenance is crucial for the longevity and performance of your iPhone gimbal. Keep the gimbal motors clean, store it in a secure case when not in use, and avoid exposing it to extreme environments. Regularly check for firmware updates to ensure that your gimbal is running the latest software for optimal functionality.
Step 9: Unleashing Creativity with iPhone Gimbal
With the technical aspects mastered, it’s time to unleash your creativity using your iPhone gimbal. Experiment with different filming techniques, explore unique perspectives, and push the boundaries of smartphone videography. The versatility and convenience of an iPhone gimbal provide endless opportunities for creating stunning visual content.
Conclusion
In conclusion, using an iPhone gimbal can revolutionize the way you capture and share moments through videography. By following the steps outlined in this guide and familiarizing yourself with the capabilities of your iPhone gimbal, you can elevate the quality of your videos to professional levels. Embrace the world of smartphone filmmaking and let your creativity soar with the assistance of an iPhone gimbal.