Welcome to the wonderful world of mini projectors! If you’re new to these small-but-mighty devices, this guide will help you hit the ground running. Mini projectors are exceptional tools for leisure and work. They’re easy to carry and set up anywhere. In this step-by-step guide, we will walk you through the basics. You’ll learn how to use a mini projector like a pro. Let’s dive in!

Credit: www.amazon.com
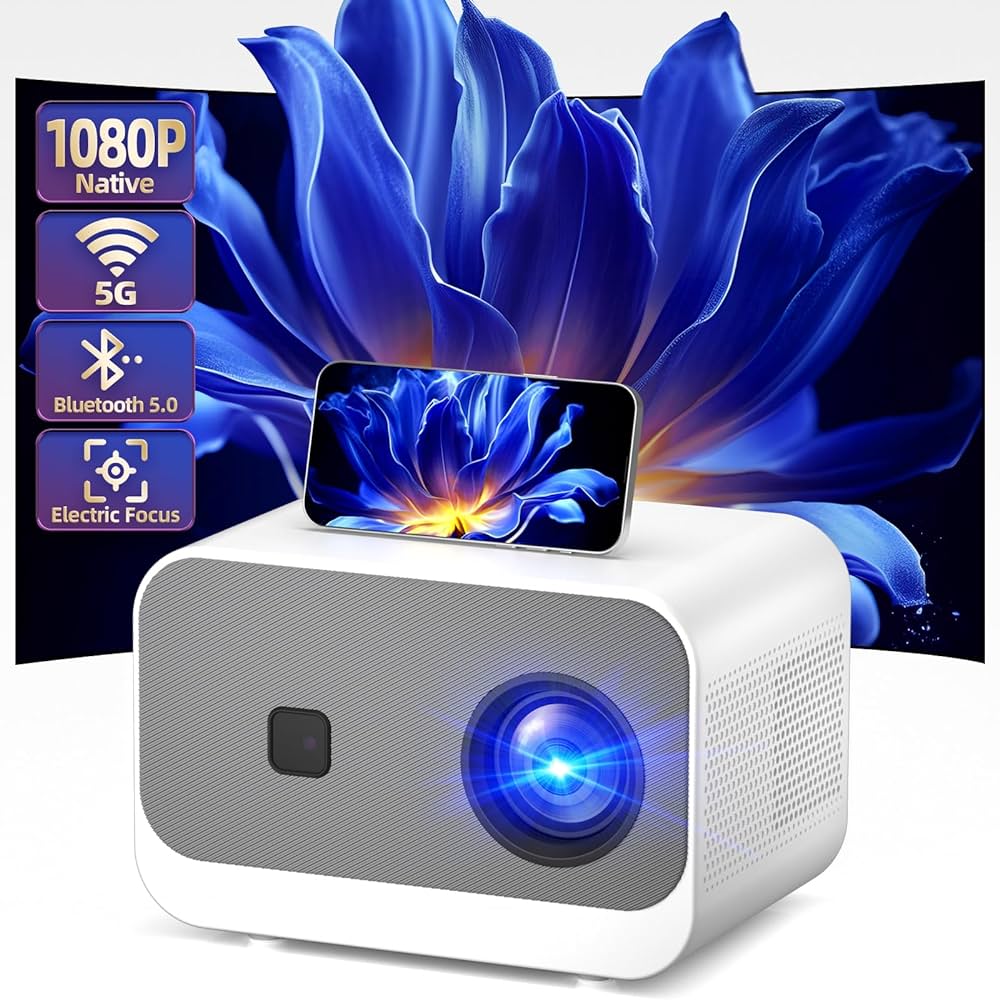
Understanding Your Mini Projector
Before getting started, familiarize yourself with your mini projector. Most mini projectors have similar parts. Here’s a quick overview:
- Lens: The glass part that throws the image onto a surface.
- Focus Wheel: Adjusts the clarity of the image.
- Keystone Correction: Aligns the image vertically or horizontally.
- Input Ports: Where you connect your devices.
- On/Off Switch: Turns your projector on or off.
- Speakers: Mini projectors often have built-in speakers.
Selecting the Right Surface and Setting Up
To start using your mini projector, you need a good surface to project onto. A white wall or screen is best. Your setup area should be dark. This makes the image brighter and clearer.
- Find a flat, white surface or invest in a projector screen.
- Place the mini projector so it faces the screen at the right distance.
- Fill the screen with the projected image by moving the projector closer or farther away.
Connecting Your Devices
Many mini projectors offer different ways to connect your devices. You can use HDMI, USB, or sometimes wireless connections. Here’s a simple table to help you understand common connections:
This table illustrates the types of inputs and their uses| Connection Type | Use |
|---|---|
| HDMI: | For laptops, gaming consoles, and DVD players. |
| USB: | To play media files from a flash drive. |
| Wireless: | Connects smartphones or tablets without cables. |
- Choose the right cable for your device and connect it to the mini projector.
- If your projector has wireless support, follow the instructions to pair devices.
Focusing and Adjusting the Image
After you connect your device, it’s time to adjust the image. Turn on the mini projector and check the focus and alignment.
- Use the focus wheel to make the image sharp.
- If the image is not square, use keystone correction to fix it.
- Make sure the image fills the screen without spilling over.
Getting the Audio Right
Good audio is important for the best viewing experience. Most mini projectors have built-in speakers. But, for better sound, you may want to connect external speakers.
- Check if your projector has a headphone jack or Bluetooth for external audio.
- Connect your external speakers or sound system if available.
- Test the sound before starting your show or presentation.

Credit: miroirusa.com
Troubleshooting Common Issues
Sometimes, you might face problems with your mini projector. Here are quick fixes for common issues:
| Common Issues | Quick Fixes |
|---|---|
| Image is blurry: | Adjust the focus wheel until the image is sharp. |
| Image is not aligned: | Use keystone correction to align the image properly. |
| No sound: | Check the volume and audio output settings on your projector. |
| No image: | Ensure the projector is on and check the input source. |
Tips for Getting the Most out of Your Mini Projector
Here are extra tips for an improved experience:
- Charge your mini projector fully if it’s battery-operated.
- Use screen mirroring or casting apps for wireless convenience.
- Bring an extension cord for setups far from power outlets.
- Keep the lens clean for the clearest image quality.
Final Thoughts
Using a mini projector is simple once you know the steps. With the right setup, you can enjoy movies, games, or presentations anywhere. Always check your device’s manual for specific instructions. Enjoy your new mini projector and the big-screen experience it brings!
Thank you for reading our guide on how to use a mini projector. We hope you found it helpful. If you have any questions or tips of your own, please share them in the comments below.