To connect your iPhone to a wireless printer, go to your iOS device settings, tap on Bluetooth, and toggle it on. Then, open the Square app, tap on More, go to Settings, and select Hardware.
Tap on Printers, then Profiles, and create a printer profile.
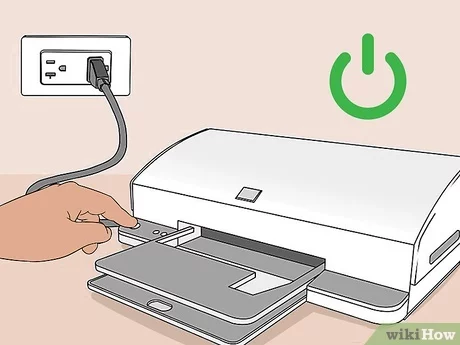
Step 1: Check Printer Compatibility
To connect your iPhone to a printer wirelessly, first, you need to check if your printer supports wireless printing. Once confirmed, ensure that the printer is connected to the same network as your iPhone. If the wireless signal is on and the printer is connected to the same network as your device, move on to the next step. If you’re facing issues, make sure to check the printer connection status. If your printer has a light next to the wireless icon or button, ensure it is on. In case the light is off or blinks, the printer might be disconnected from the network. Follow these instructions to add a wireless printer to your iPhone and make sure to select an AirPrint-enabled printer option.
Step 2: Enable Bluetooth On Your iPhone
To connect your iPhone to a wireless printer, you need to follow a few simple steps. First, go to the settings on your iPhone. Then, toggle on the Bluetooth option. This will enable the Bluetooth functionality on your iPhone, allowing it to connect to other devices wirelessly. With Bluetooth enabled, you can now proceed to connect your iPhone to the wireless printer of your choice. You can do this by going to the document or picture you want to print, tapping the Share icon, scrolling down in the Share Sheet, and selecting the Print option. From there, you will be able to choose an AirPrint-enabled printer to connect to. Once connected, you can easily print wirelessly from your iPhone to the printer. It’s a quick and convenient way to print documents and photos directly from your iPhone.
Step 3: Connect The Printer To Your iPhone
To connect your iPhone to a wireless printer, follow these steps:
1. Open the Settings app on your iPhone.
2. Tap on Bluetooth.
3. Select the printer from the list.

Step 4: Print From Your iPhone
To print from your iPhone, first open the document or picture you want to print. Then, tap on the Share icon and select Print. Choose the printer from the list of AirPrint-enabled printers. Make sure the wireless signal is on, and the printer is connected to the same network as your iPhone. If the printer is not recognized, check the connection status and ensure the printer is connected to the network. You can also connect your iPhone to the printer via Wi-Fi by following the steps provided by the printer manufacturer. Once connected, you can use AirPrint to print wirelessly to the selected printer from your iPhone.
Conclusion
Incorporating your iPhone with a printer wirelessly can offer convenience and efficiency to your daily life. By following the simple steps outlined in this blog post, you can seamlessly print from your iPhone to a wireless printer. With the use of AirPrint technology, connecting your iPhone to a printer has never been easier.
Embrace the freedom of wireless printing and streamline your workflow.