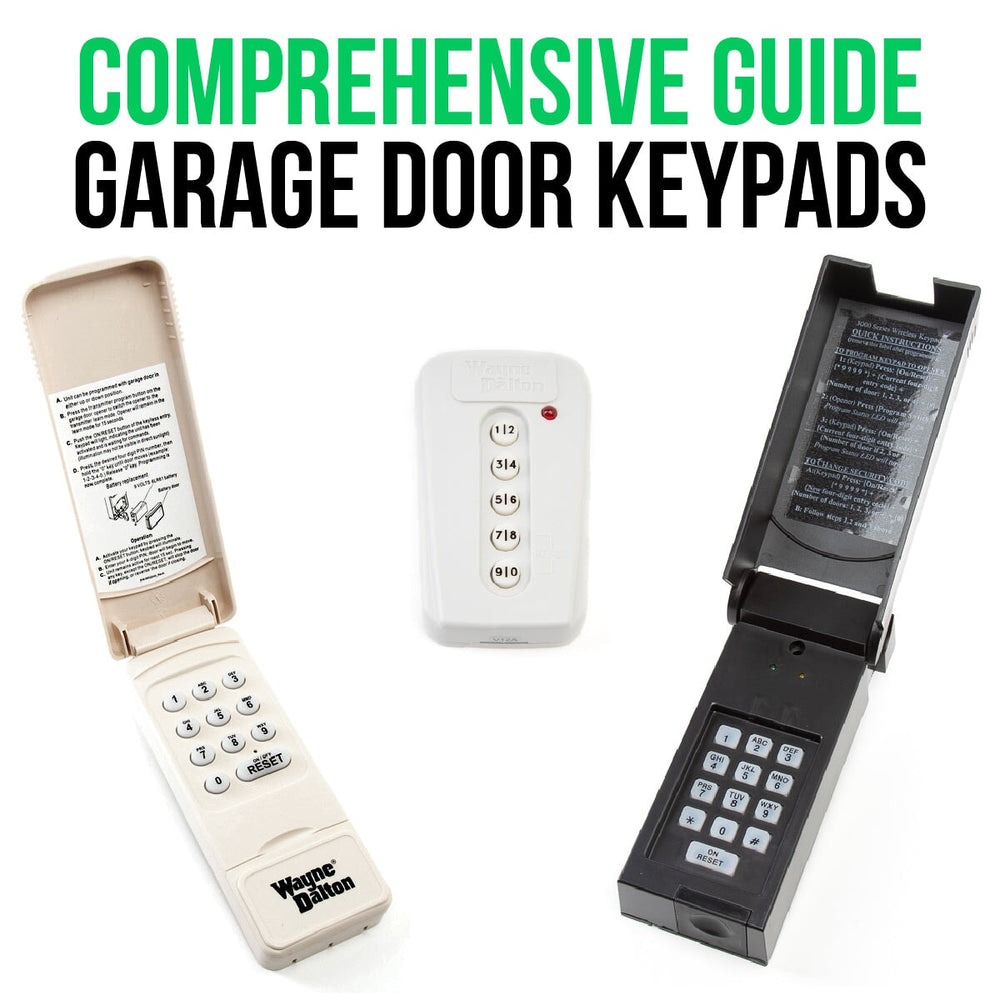
Welcome to our guide on how to replace your garage door remote control. Whether you’ve lost your remote or it’s stopped working, knowing how to replace it is an important skill for any homeowner. With these simple steps, you can have your new remote up and running in no time.
Step 1: Identify the Right Remote
Before you begin, it’s crucial to identify the correct replacement remote for your garage door opener. Check the model number of your current remote and compare it to the compatibility list provided by the manufacturer. If you’re unsure, consult the opener’s manual or contact the manufacturer for guidance.
Step 2: Purchase the Replacement
Once you’ve identified the right remote, purchase it from a trusted retailer or directly from the manufacturer. Make sure to double-check that the remote is compatible with your specific garage door opener model to avoid any compatibility issues.
Step 3: Clear the Memory of the Opener
Before programming the new remote, it’s essential to clear the memory of your garage door opener to remove any existing codes. This typically involves pressing a “Learn” button on the opener, but the exact process may vary based on the model. Refer to your opener’s manual for specific instructions.
Step 4: Program the New Remote
Programming the new remote is generally a simple process that involves pressing a specific sequence of buttons on the opener or following the instructions provided with the remote. This process may vary depending on the make and model of your garage door opener, so refer to the manual for precise steps.
Step 5: Test the New Remote
After programming the new remote, it’s vital to test it to ensure that it’s functioning correctly. Stand within range of the opener and press the button on the remote. If the door responds as expected, congratulations – your new remote is successfully programmed and ready for use.

Credit: www.angi.com
Common Issues and Troubleshooting Tips
If you encounter any issues during the replacement process, don’t panic. Here are some common problems and their troubleshooting tips:
| Issue | Troubleshooting Tip |
|---|---|
| Remote doesn’t work after programming | Check the battery and reprogram the remote, ensuring you follow the steps precisely. |
| Opener doesn’t respond to the new remote | Ensure that you cleared the memory of the opener before programming the new remote and that the remote is compatible with your opener model. |
| Difficulty in programming the remote | Double-check the programming instructions and consult the manual for any specific requirements or alternative methods. |

Credit: blog.amarr.com
Conclusion
Replacing your garage door remote control is a relatively simple task that can save you time and money compared to calling a professional. By following the steps outlined in this guide and referencing your opener’s manual, you can successfully replace your remote control and have your garage door operating smoothly once again.
Remember, if you encounter any difficulties, don’t hesitate to reach out to the manufacturer or a professional for assistance. With the right remote and a bit of patience, your garage door will be back to its convenient, remote-operated self in no time.